 |
| Sunday, August 22nd, 2004 |
| Holy Good-God. Could a simple oil change BE any more difficult! First, I had to remove the oil sump-plate which had only ONE gasket, then when I used the kit from Stodards (new screws and washers) I realized that 2 of my 9 threads were stripped, so I had to drill them out, re-tap them, and use these great little 8mm to 6mm screws in place. Then, I had to call Stodards back bacause the oil drain plug was too "long" in the threads. "Actually Mr. Doak, as long as it seats, it's fine. And no, there isn't a gasket that goes with it, like you currently have." Who the HELL was working on my car before me??? Anyway, after all that, and a NUMBER of missing screws and washers, my vehicle sounds like a whole new car. And it drives a hell of a lot better. Just awesome! |
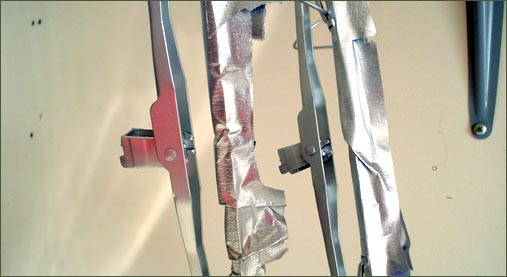
| So, in my batch of new items was a new set of wiper blades. According to stock, my wipers were painted metalic. So, as I think they would look very cool that way, I painted them metalic. I didn't want to jack with removing the rubber, so I just masked them off with painters tape. Worked great. |
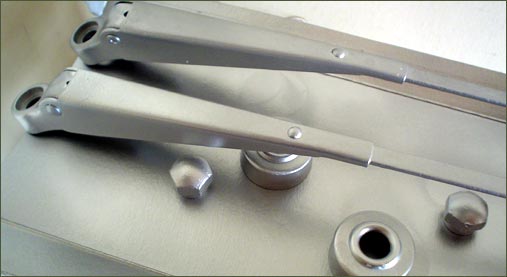
| Detail of the parts that I painted to match the blades. |
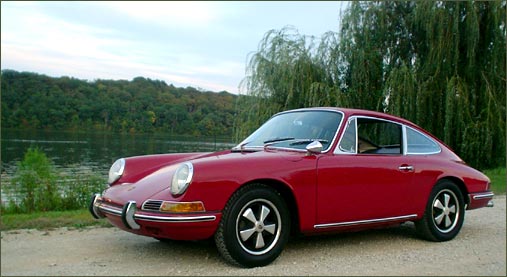
| My new blades on the car. They look great from the inside. |
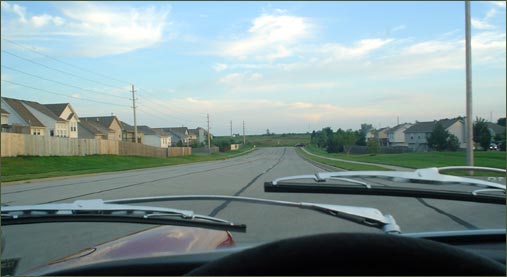
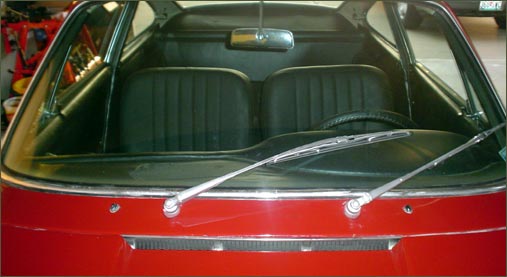
| And here they are from the inside. I had just gotten back from the lake after an amazing weekend. But, I did want to get the 912 back on the road in time to enjoy the weather. |
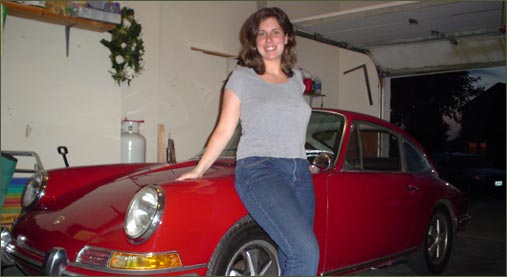
| Ahh, the beautiful and understanding wife who allows the late nights of work on the 912 to happen while she tends to the kiddies. When I asked for this pose, the first thing she did was check to see if any metal would be touching the Porsche. My girl. |
| Thursday, August 19th, 2004 |
| So in my Stoddards order was a can of matching paint for my oil can. I had been meaning to take care of this all the other night, but the oil-change-from-hell happened (which is still not complete), so I did this last night. |
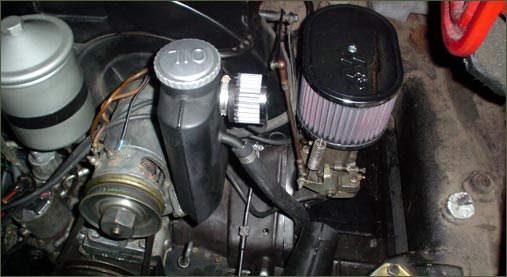
| Oil breather cleaned and painted, oil breather cap cleaned and painted, oil can cleaned and painted, oil can strap cleaned and painted, generator cleaned, sound proofing re-attached, K&N filters on webers, K&N filter on oil breather, new sheet metal screws (a lot were missing), new oil breather hose and retaning clamps, new sump gromit and pipe, new crank case seals, and a lot of small rust touch-up. Now that's a list! |
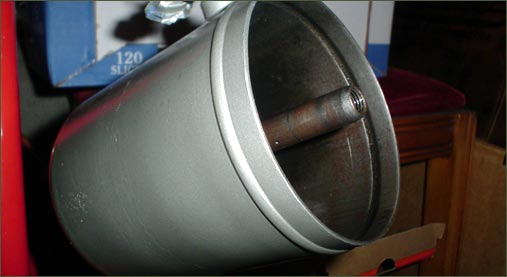
| Just a detail of the oil can and strap. The strap wouldn't come off (fused to the fan shrowd), so I set up a painting station right on the car. When I re-attached the oil can I damaged the silver paint (ok, it might not have been TOTALLY dry) a little. So, with my handy blue tape, I touched up the can on the vehicle. |
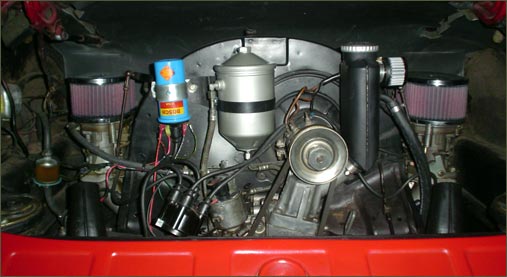
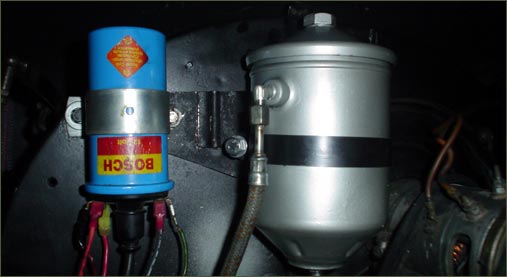
| Detail of my oil breather. I turned the oil cap around after I saw this picture. And for those of you who think I forgot, I did re-attach my distrubitor cap. |
| Tuesday, August 17th, 2004 |

| I got a really big order from Stoddards today. It allowed me to change the seals on my crank cases, change the oil and all those seals along with the threaded studs, attached my oil breather, and fill in any missing screws form my sheat metal in the engine compartment. Oil change was a nightmare (will detail when I re-address it either tonight or tomorrow), oil breather looks great, and the creankcases look as if the gasket had never been changed. |

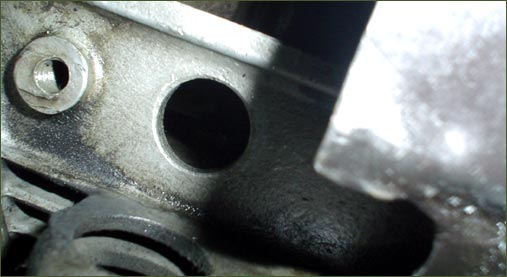
| The majority of the gasket (original, I bet) had fused itself to the lip of the crankcase. I had to scrape and grind it out with a wire brush, my drill, and a screwdriver. The new seal fits great. Yet again, another simple task of replacing the seal turning into a good half an hour of work to prep the surface. I'm not complaining, just informing. |
| I forgot to mention above that the main reason for the Stoddard order was a post I read on Dave's site. Seems he has a similar problem with the oil breather and a gromit. I had to remove the majority of the sheat metal from the engine to access this area just under my carb. Let me tell you, that damn sheet metal comes appart easy, but getting ti back together isn't so much fun. Lots of time spent on getting all the new nust and washers back in thier respective homes. |
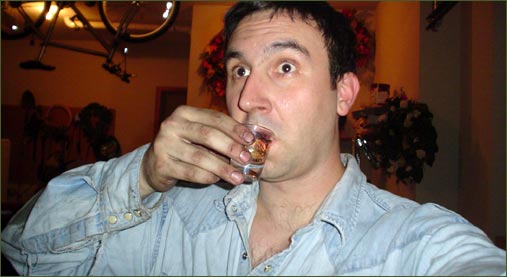
| During all this, without dinner, starting at 7pm after an hour at the gym, I promissed a friend I'd call at 9pm my time (10pm EST) to toast her birthday. So, at 9:15pm, Kara informed me it was time, so I paused from the work, took a shot of "Eau De Vie" with her very drunk on the other end of the phone, and got back to work. I'm sure she won't remember any of the conversation. |
| Sunday, August 15th, 2004 |
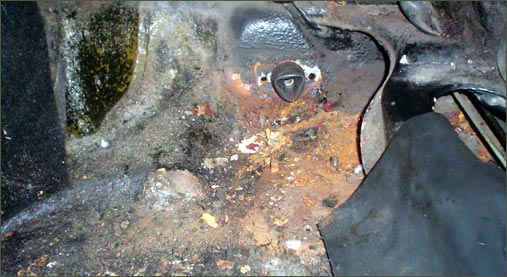
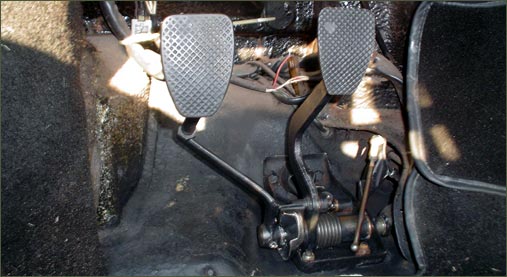
| The words "this car has no rust" just ring in my ear. It might not have had VISIBLE rust, but hell if it didn't have it UNDER stuff. Pedal Cluster Removal. I didn't document this one as detailed as the others, and I didn't make it an education article because both Pelican Parts and Dave have perfectly good examples of this which I used to do it, so use those links if you are interested. |
| I wasn't too shocked, but I was a little put off. Lesson learned. I know, I've been reading for years that NO 912 that hasn't had a body-off restoration is rust free, and mine is no exception. I bought multiple wire brushes attachments for my drill, and went to town. I removed as much as I could both in the front area, and also inside the center area. Lots of vacuming and re-grinding. |
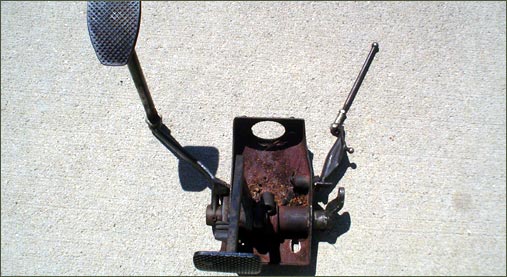
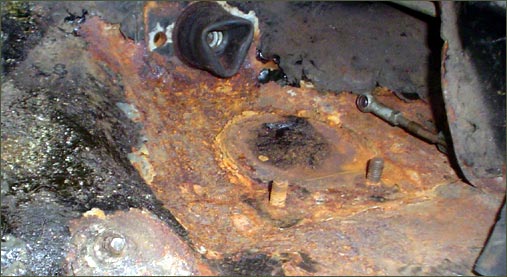
| The pedal cluster was is no better shape. Lots of rust, but was solid. The plan was to take it appart, grind off all the rust, and spray her down (2-3 coats) with Rustoleum. After inspection, the main bushings looked good, but the accelator bushings were junk. Almost totally gone. So, this was a going to be a good fix. But FIRST, I had to remove the pin that holds this cluster together. |
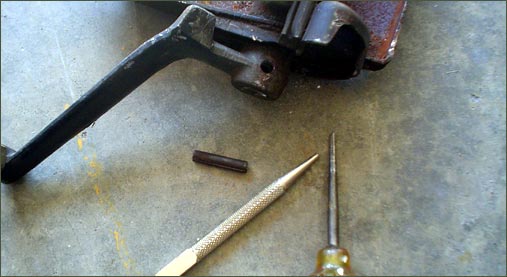
| That, my friends, is all it took to get the sucker out. Ok, little lie, it also too 2 drill bits which broke as well. And a hammer. Which didn't break, I just used it to knock it out. Anyway, moving on. I don't have pictures of the rest of the steps, so I'll just list what all I did:
Bit of a process, but not as bad as I had anticipated. Getting her out and cleaning up all the rust was the pain I hadn't anticipated. |
| And there she is, back in place. The area has been cleaned, painted, and hopefully good for another 40 years. As long as she stays out of the elements, which she WILL! |

| My real baby. She came out to see what all the cussing and grinding was all about. As dirty as I get, and with the face mask and protective glasses I use, my kids think I look a little "different." It took Chloe a second to figure out who the hell I was. |
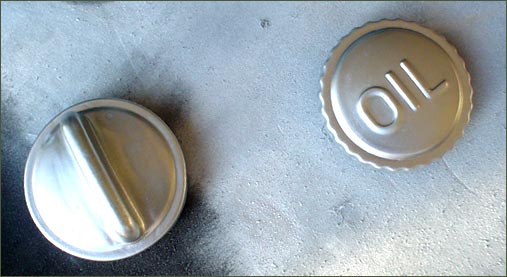
| While I was painting the pedal cluster parts, I figured I'd clean up my gas cap and oil breather cap while I was at it. I liked the way that gas cap looked so much, I painted the oil cap as well. It's not stock, I know, but I think it looks pretty cool. I'm anticipating an order in on Tuesday, August 17th which required these to be preped. Check back to see my engine look a lot "nicer." |
Main Page |